Emergency Baby Extraction Drill for Solo Hikers: A Step‑by‑Step How‑To Guide
Introduction
One who hikes alone in remote terrain must be prepared for unexpected situations, including the need to rescue an infant who has become trapped or distressed. This guide explains how to conduct an emergency baby extraction drill, why each action matters, and which tools can improve safety and efficiency. By mastering these procedures, a solo hiker can protect a vulnerable child, reduce panic, and increase the likelihood of a successful rescue.
The information presented is practical, based on real‑world experience, and does not require purchase of every recommended item. However, specific products have been identified that simplify critical steps, provide reliable performance, and have earned high user satisfaction.
What You'll Need
- Little Remedies New Baby Essentials Kit – a compact collection of nasal spray, gas relief drops, fever reducer, gripe water, and diaper rash cream.
- LifeVac Portable Airway Suction Device – a manual suction unit for clearing a blocked airway.
- OAKDOLCHE Wooden Labor Comb – an ergonomic acupressure tool that can distract pain and calm a newborn.
- Lightweight trekking backpack, waterproof map, whistle, first‑aid kit, and a reliable communication device (satellite messenger or cell phone with emergency service).
Step‑by‑Step Instructions
1. Assess the Situation and Secure the Area
Before attempting any rescue, one must pause to evaluate the environment. Look for hazards such as loose rocks, steep drops, or water flow that could endanger both rescuer and infant. If the area is unsafe, relocate the baby to a stable location using a soft blanket or a small carrier. Communicate calmly, using a soothing voice to keep the infant calm.
Why this matters: A controlled environment reduces the risk of secondary injuries and allows the rescuer to focus on airway and comfort management.
2. Perform a Rapid Airway Check
Immediately inspect the infant's mouth for visible obstruction. If an object is seen and can be safely removed with a finger sweep, do so gently. Do not perform blind finger sweeps as this may push the object deeper.
If the airway remains compromised, proceed to the next step.
3. Deploy the LifeVac Portable Airway Suction Device
Place the LifeVac mask over the infant's mouth and nose, ensuring a tight seal. Pull the suction cup back to create negative pressure, then push it forward sharply to generate suction. Repeat the motion up to five times or until the obstruction is cleared. The device is designed for children ages one and older; however, it can be used on infants in emergency situations when standard techniques fail.
Product details: The LifeVac Home Kit costs $79.99, has a rating of 4.8 out of 5 stars from 20,908 reviews, and is in stock. Its manual operation requires no batteries, making it reliable in remote settings.
Why this product is useful: Unlike improvised suction methods, LifeVac provides consistent negative pressure, is lightweight, and can be carried in a small pouch.
4. Stabilize Breathing and Comfort the Infant
After the airway is cleared, monitor the infant's breathing pattern. If the baby appears congested, use the saline nasal spray from the Little Remedies New Baby Essentials Kit. Tilt the infant's head slightly backward, insert a few drops into each nostril, and gently suction excess mucus with the included nasal aspirator.
Product details: The kit costs $20.39, carries a rating of 4.8 out of 5 stars from 18,681 reviews, and includes a 0.5 fl oz saline spray, nasal aspirator, gas relief drops, fever reducer with acetaminophen, gripe water, and diaper rash cream. All items are free from aspirin, ibuprofen, artificial flavors, and dyes.
Why this product is useful: The saline spray and aspirator quickly relieve nasal congestion without medication, allowing the infant to breathe more easily while the rescuer prepares to move.
5. Relieve Discomfort with the OAKDOLCHE Wooden Labor Comb
Gently press the wooden labor comb against the infant's cheek or forehead in a slow, rhythmic motion. The comb utilizes acupressure and gate‑control theory to divert attention from pain and stress, providing a calming sensation. This technique can be especially helpful if the infant is crying due to the ordeal.
Product details: The wooden labor comb costs $3.99, has a rating of 4.2 out of 5 stars from 45 reviews, and features an ergonomic wave‑shaped handle. It is engraved with encouraging words, offering both physical and emotional support.
Why this product is useful: The comb offers a non‑pharmacological method to soothe the infant, reducing the need for additional medication in a remote setting.
6. Administer Gentle Relief for Gas or Colic
If the infant shows signs of abdominal discomfort, place a few drops of the Baby Gas Relief Drops from the Little Remedies kit onto the baby's gums. Follow the dosage instructions on the label. For colic not caused by a medical condition, a small amount of gripe water can also be offered.
Why this product is useful: Both drops and gripe water are formulated for newborns, contain no harmful additives, and can be administered without a thermometer or scale.
7. Treat Diaper Rash or Skin Irritation
After the infant has been cleaned, apply a thin layer of Boudreaux’s Butt Paste Maximum Strength Diaper Rash Cream from the kit. This ointment creates a protective barrier, reducing friction and promoting healing.
Why this product is useful: The cream is free from artificial dyes and provides long‑lasting protection, essential when clean water may be scarce.
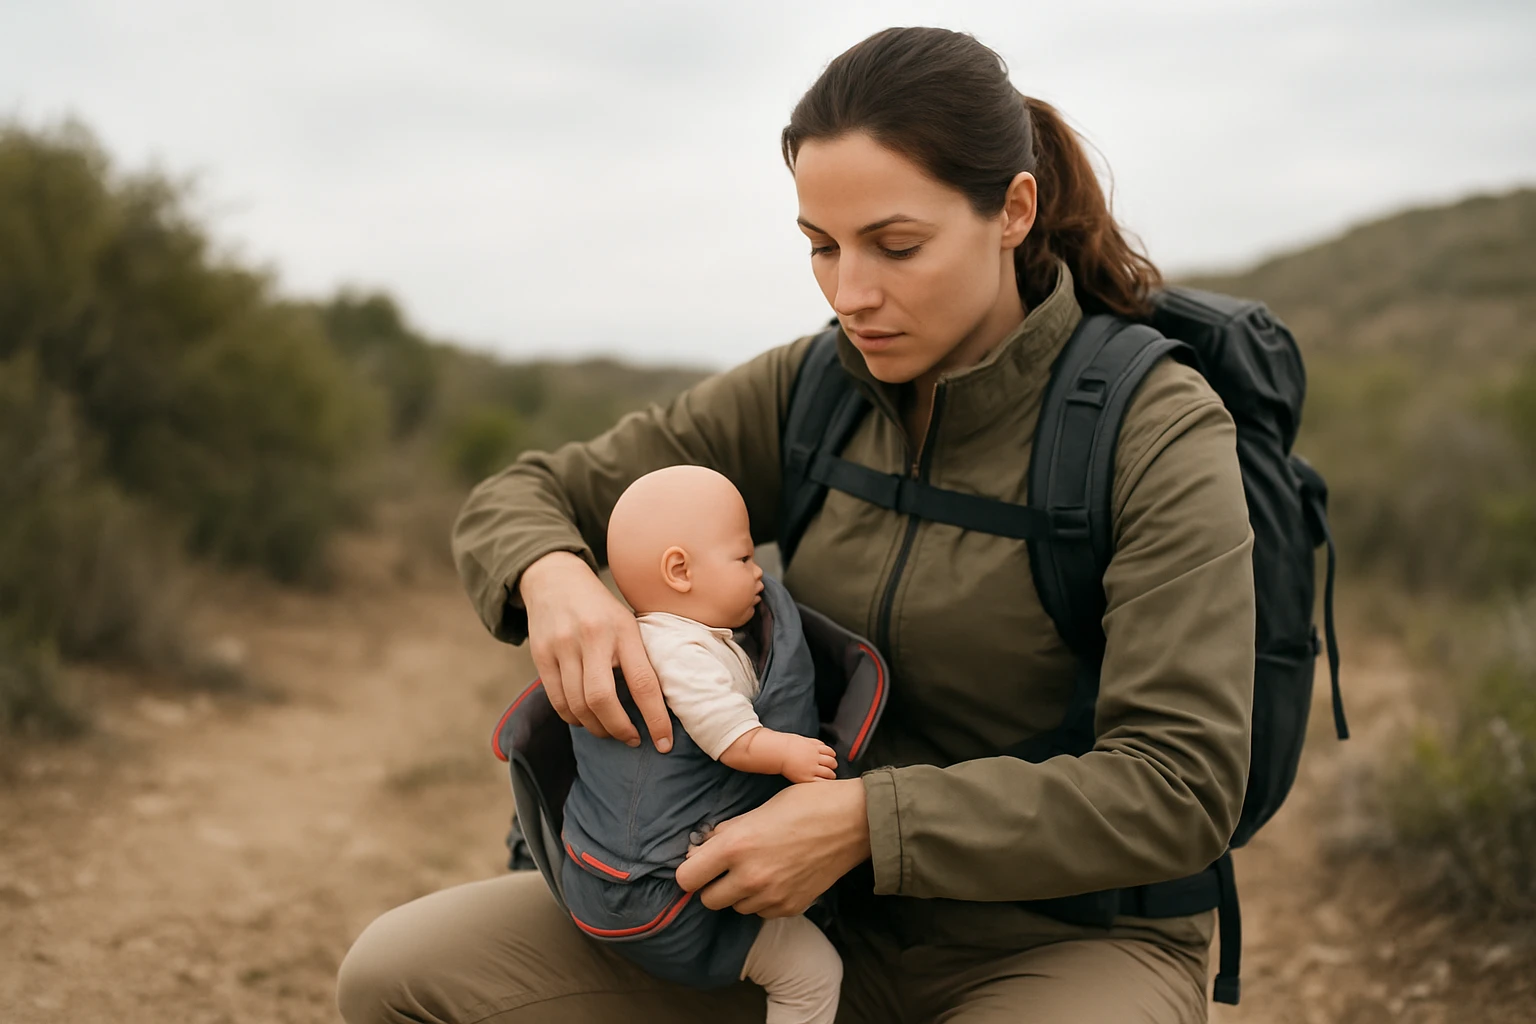
8. Pack the Infant Securely for Evacuation
Place the infant in a soft carrier or a well‑cushioned backpack designed for child transport. Ensure the carrier is balanced and the infant's head is supported. Use a waterproof cover if weather conditions are wet.
Maintain a steady pace, keep the infant close to the body, and monitor breathing continuously. If the infant shows signs of distress, stop and repeat airway checks.
9. Signal for Assistance
Once a safe location is reached, use a whistle or a satellite messenger to alert emergency services. Provide precise coordinates, describe the infant's condition, and indicate any medical supplies used.
Why this matters: Prompt professional assistance can address complications that may arise after the initial rescue.
Tips & Pro Tips
- Practice the LifeVac technique at home with a training dummy before an emergency; muscle memory reduces hesitation.
- Carry a small, resealable bag for the Little Remedies kit to protect it from moisture.
- Store the wooden labor comb in a clean pocket; its wooden surface does not harbor bacteria when kept dry.
- When using saline spray, avoid excessive force to prevent ear discomfort.
- Always perform a brief head‑tilt, chin‑lift maneuver before suction to open the airway.
- Maintain a calm tone; infants can sense anxiety, which may exacerbate crying and breathing irregularities.
Troubleshooting
Problem: The LifeVac does not clear the obstruction after five attempts.
Solution: Re‑evaluate the infant's mouth for a visible object, consider using a pediatric laryngoscope if trained, and call emergency services immediately.
Problem: Nasal aspirator causes bleeding.
Solution: Use fewer suction strokes, ensure the aspirator tip is not inserted too deeply, and apply a small amount of diaper rash cream around the nostrils to soothe irritation.
Conclusion
One who hikes alone can successfully extract a baby from an emergency by following a systematic approach: assess the environment, secure the airway, use reliable tools such as LifeVac, provide comfort with saline spray and the wooden labor comb, and evacuate safely while signaling for help. Mastery of these steps builds confidence, protects the infant, and demonstrates responsible wilderness stewardship.
Regular drills reinforce the procedures, ensuring that when a real incident occurs, the response is swift, calm, and effective.
Products Mentioned in This Guide
Frequently Asked Questions
What is an emergency baby extraction drill for solo hikers?
It is a step‑by‑step procedure that prepares a lone hiker to locate, stabilize, and safely remove an infant who is trapped or in distress in remote terrain.
When should a solo hiker perform a baby extraction drill?
Whenever an infant shows signs of being trapped, injured, or experiencing a medical issue, the drill should be initiated immediately to prevent panic and worsening conditions.
What essential items should be in a solo hiker’s baby rescue kit?
A compact kit should include nasal spray, gas relief drops, fever reducer, gripe water, diaper rash cream, plus a lightweight blanket, first‑aid supplies, and a sturdy carrier or harness.
How can a solo hiker safely lift and transport a trapped infant?
Use a supportive carry strap or improvised sling to keep the baby’s head and spine aligned, lift with legs rather than back, and move slowly to avoid further injury.
What role do specialized products like the Little Remedies Kit play in the drill?
They provide quick‑acting medical relief for common infant issues, allowing the hiker to address symptoms while focusing on extraction and evacuation.