Introduction
One often discards a well‑worn baby carrier when a child outgrows it, yet the fabric possesses qualities that are ideal for outdoor gear. This guide demonstrates how to repurpose a Koala Babycare Baby Carrier Wrap into a functional backpack, a lightweight shelter, and assorted accessories. Readers will acquire practical cutting, stitching, and waterproofing techniques while learning which supplemental materials enhance durability. By the end, one will possess a custom‑made gear set that reduces waste and saves money.
The approach balances simplicity with craftsmanship, ensuring that beginners can follow each instruction without specialized equipment. At the same time, the guide incorporates higher‑grade fabrics for those who desire professional‑level performance. The result is a versatile outdoor kit that can accompany hikes, camping trips, or everyday errands.
What You'll Need
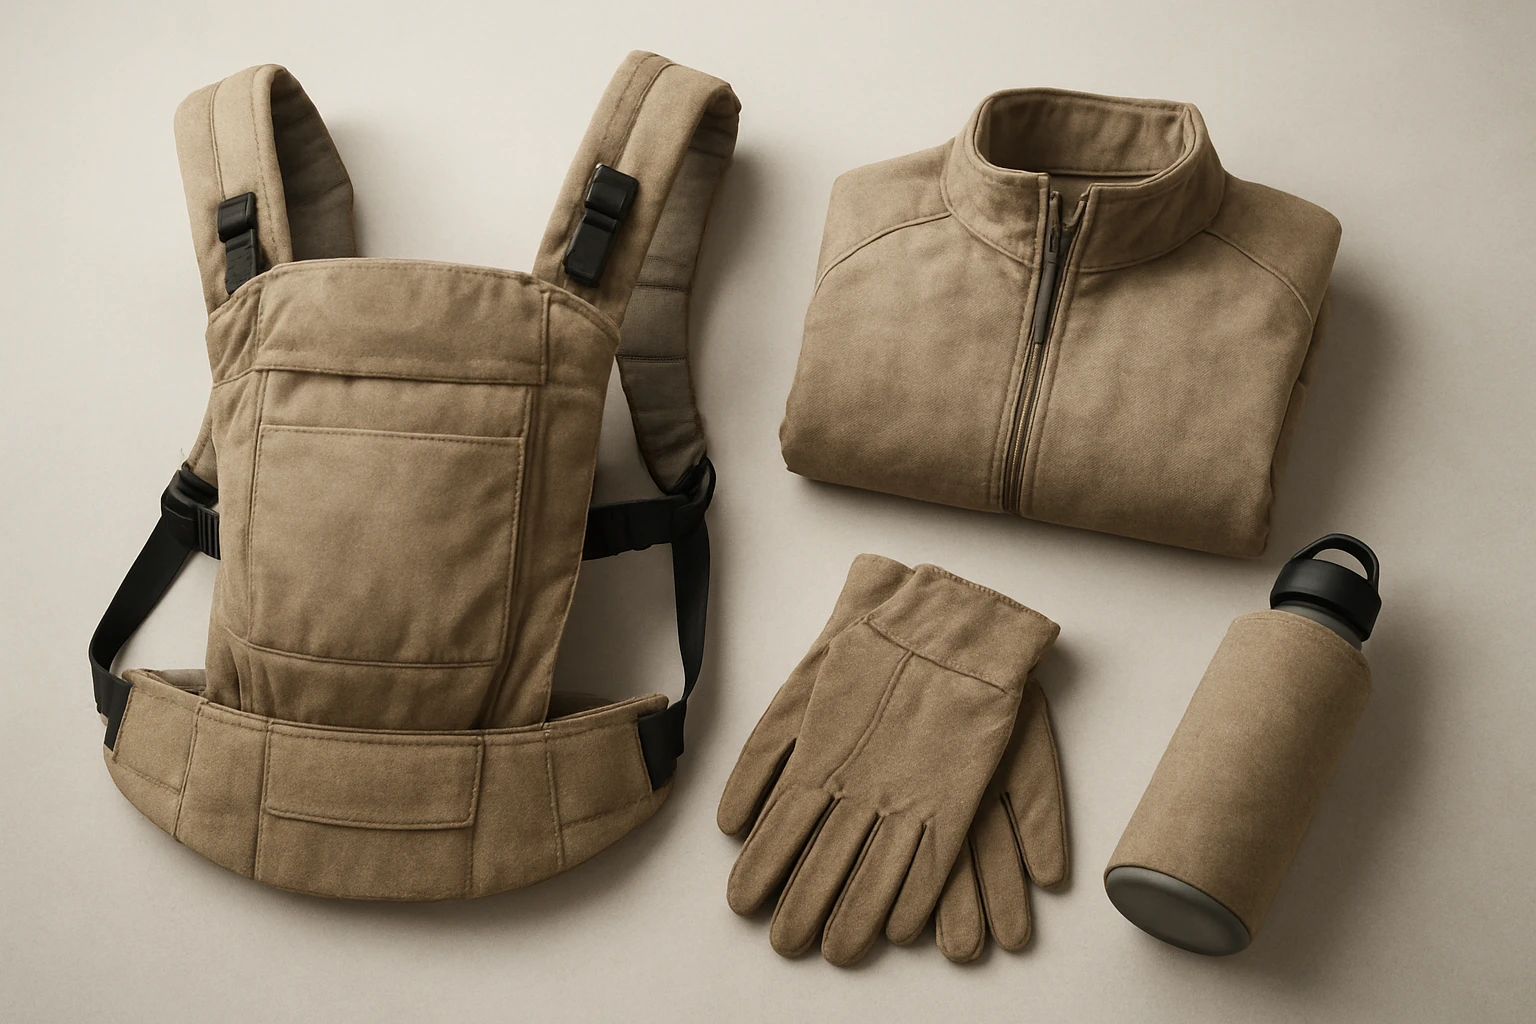
- Koala Babycare Baby Carrier Wrap – original wrap, 22 lb capacity, $44.75, 4.5/5 stars (20,680 reviews)
- FEED GARDEN Weed Barrier Fabric – 4 ft × 100 ft roll, $28.99, 4.4/5 stars (420 reviews)
- VEVOR Burlap Fabric Roll – 14 in × 150 ft, $38.90, 4.7/5 stars (210 reviews)
- Foreate Waterproof Canvas Fabric – 1 yard, $13.99, 4.3/5 stars (464 reviews)
- Heavy‑duty scissors, rotary cutter, or fabric shears
- Sewing machine with a strong needle (size 90/14 recommended)
- Polyester thread, fabric glue, and a measuring tape
- Optional: leather or webbing straps for reinforcement
Step 1: Gather Materials and Prepare Your Workspace
Begin by clearing a flat surface that measures at least 4 feet by 4 feet; this space allows you to lay out the carrier wrap and supplemental fabrics without crowding. Place the Koala Babycare Baby Carrier Wrap on the table, noting its dimensions and the location of the adjustable bands, which will later serve as reinforced attachment points.
The FEED GARDEN Weed Barrier Fabric provides a breathable yet sturdy base for shelter panels; unroll a section of the roll and trim it to the desired panel size before proceeding. Having the VEVOR Burlap Fabric Roll nearby offers a natural‑looking reinforcement that can be applied to high‑stress zones such as backpack straps.
Finally, keep the Foreate Waterproof Canvas Fabric within arm’s reach; this material will act as a waterproof overlay for both the backpack and shelter, protecting the softer carrier wrap from rain.
Step 2: Disassemble and Clean the Baby Carrier Wrap
Using a seam ripper, carefully remove any stitching that holds the carrier’s original shape, preserving the fabric panels intact. The Koala wrap is constructed from a blend of 65 % polyester, 30 % cotton, and 5 % spandex, which makes it both breathable and resilient; however, a gentle machine wash on a cold cycle removes any residue from previous use.
After washing, lay the fabric flat and iron on a low heat setting to eliminate wrinkles; this step ensures accurate measurements when cutting patterns for the backpack and shelter. The two adjustable bands can be retained as built‑in reinforcement loops, eliminating the need for additional hardware later in the process.
Step 3: Design and Cut the Backpack Panels
Measure the carrier wrap to determine the maximum panel size; a common configuration uses two 18 inch × 12 inch rectangles for the front and back, and two 12 inch × 12 inch squares for side panels. Transfer these dimensions onto the fabric with a fabric chalk pencil, then cut using sharp shears to avoid fraying.
For added durability, cut matching pieces from the VEVOR Burlap Fabric Roll and sandwich them between the carrier wrap layers on high‑stress edges. The burlap’s natural jute fibers provide a sturdy grip for strap attachment while maintaining an organic aesthetic.
Step 4: Assemble the Backpack Structure
Sew the front and back panels together along the side edges, leaving the top open for the main compartment. Use a straight stitch with a 3 mm stitch length to accommodate the mixed fiber content; the polyester‑cotton blend tolerates moderate tension without puckering.
Insert the Foreate Waterproof Canvas Fabric as a liner by stitching it to the interior of the assembled shell. This waterproof layer prevents moisture from penetrating the carrier fabric, effectively turning the backpack into a rain‑ready pack.
Attach the adjustable bands from the original carrier as internal reinforcement loops for the shoulder straps; this leverages the existing ergonomic design, reducing the need for additional hardware.
Step 5: Create a Compact Shelter Using Weed Barrier Fabric
Lay out a 4 ft × 4 ft section of the FEED GARDEN Weed Barrier Fabric and cut it into four triangular panels that will form a pyramid‑style shelter. The fabric’s high tensile strength and breathability allow water to drain while air circulates, minimizing condensation inside the shelter.
Reinforce each panel’s edges with a narrow strip of the waterproof canvas; this prevents tearing at the seams when the shelter is tensioned with stakes. The included 30 U‑shaped stakes in the weed barrier package are ideal for anchoring the shelter to soft ground without damaging the fabric.
Connect the panels using a simple “box” stitch, then attach the corners to the carrier wrap’s original loops, creating a modular shelter that can be packed inside the backpack when not in use.
Step 6: Add Accessories and Finish Details
Cut small pockets from excess carrier wrap or burlap to serve as utility compartments on the backpack’s exterior; reinforce pocket openings with double stitching to withstand frequent access. For a polished look, apply fabric glue along the edges of the waterproof canvas overlay, sealing any potential gaps where water could seep.
If desired, sew a detachable waist belt using webbing; this distributes weight more evenly across the hips, improving comfort during long hikes. Finally, perform a test fit by loading the backpack with typical gear (water bottle, jacket, snack) and adjusting the straps to ensure the carrier’s ergonomic backrest remains supportive.
Tips & Pro Tips
- Always pre‑wash fabrics to prevent shrinkage after assembly.
- Use a walking foot on the sewing machine when working with mixed‑fiber fabrics to avoid skipped stitches.
- Apply a silicone spray to the exterior of the waterproof canvas for extra rain repellency.
- When cutting burlap, wear a mask to avoid inhaling fine jute particles.
Troubleshooting
If the backpack seams begin to separate under load, reinforce the stress points with an additional layer of burlap or a strip of the waterproof canvas. Should the shelter sag in windy conditions, increase the number of stakes and consider adding tension cords made from paracord for extra stability.
Conclusion
This guide has illustrated how a well‑designed baby carrier wrap can become the foundation of a functional outdoor system. By integrating the Koala Babycare Baby Carrier Wrap with durable garden fabrics, burlap reinforcement, and waterproof canvas, one creates a backpack, shelter, and accessories that are both eco‑friendly and performance‑ready.
Readers are encouraged to experiment with colors, patterns, and additional pockets, customizing the gear to personal taste while continuing to reduce textile waste. The skills acquired here—fabric preparation, strategic reinforcement, and waterproofing—are transferable to countless other upcycling projects.
Products Mentioned in This Guide


Frequently Asked Questions
Can I turn a used Koala Babycare Baby Carrier Wrap into a backpack?
Yes, the carrier’s durable fabric can be cut and sewn into a lightweight backpack with basic stitching tools.
What tools are required for upcycling the carrier fabric?
A pair of scissors, a sewing needle or machine, thread, and optional waterproofing spray are sufficient.
How do I make the upcycled gear water‑resistant?
Apply a silicone‑based waterproofing spray to the finished pieces and allow them to dry completely before use.
Is the upcycled gear safe for children to use?
If you retain the original load rating (22 lb) and reinforce seams, the gear is safe for light outdoor tasks, but avoid heavy loads.
Can I combine the carrier fabric with other materials for stronger accessories?
Yes, adding ripstop nylon or webbing at stress points increases durability without compromising the fabric’s flexibility.