How to Securely Attach a Rain Cover to a Baby Carrier and Hiking Pack
Introduction
One often discovers that outdoor adventures with an infant become far more enjoyable when the child is protected from wind and rain. This guide explains how to attach a rain cover to a baby carrier and, when desired, to a hiking pack, ensuring safety and comfort. Readers will learn which tools are most effective, how to perform each step with confidence, and how to avoid common pitfalls. The information is valuable for parents, caregivers, and outdoor enthusiasts who wish to maintain a high level of preparedness.
What You’ll Need
- One Orzbow Baby Carrier Winter Cover - Dark Grey Dino (price: $39.99, rating: 4.6/5 from 364 reviews)
- One Orzbow Baby Carrier Winter Cover - Light Grey Bear (price: $39.99, rating: 4.6/5 from 364 reviews)
- One Bebamour Baby Carrier Winter Cover - Dark Grey (price: $49.99, rating: 4.6/5 from 1,290 reviews)
- A compatible baby carrier (e.g., ergonomic front‑carry, backpack style, or hip‑carry)
- A hiking pack with external attachment points (optional)
- A small screwdriver or multi‑tool for adjusting buckles, if necessary
- A clean, flat surface for assembly
Step 1: Choose the Appropriate Rain Cover
The first decision involves selecting a rain cover that matches the carrier type and climate conditions. The Orzbow Baby Carrier Winter Cover - Dark Grey Dino offers a detachable weatherproof hood, a central hand‑warmer pocket, and a bottom zipper ventilation system, making it suitable for cold and rainy days. Its universal 5‑in‑1 function allows it to snap onto any carrier, convert to a footmuff, or serve as a nursing blanket, providing flexibility for families with changing needs. For parents who prefer a lighter aesthetic, the Orzbow Baby Carrier Winter Cover - Light Grey Bear includes a removable drawstring hood and similar pocket design, while the Bebamour Baby Carrier Winter Cover - Dark Grey emphasizes a detachable hat with zip and buckle, and a breathable shell that performs well across multiple seasons. Selecting a cover based on material thickness, hood style, and pocket placement ensures optimal protection and ease of use.
Step 2: Prepare the Baby Carrier
Before attaching the cover, one should inspect the carrier for any loose straps, worn buckles, or debris that could interfere with a secure fit. Lay the carrier on a flat surface, spread the straps evenly, and verify that the carrier’s weight‑distribution points are aligned. If the carrier includes a removable waist belt, detach it temporarily to allow the cover to slide underneath without obstruction. This preparation step reduces the risk of misalignment that could cause gaps where wind or rain might penetrate.
Step 3: Align the Cover with the Carrier
Take the selected rain cover and position it so that the front opening aligns with the carrier’s front panel. For covers with a detachable hood, such as the Orzbow Dino model, attach the hood to the carrier’s head‑support area if the infant will be facing inward; otherwise, keep the hood detached for forward‑facing carries. Ensure that the central hand‑warmer pocket rests against the carrier’s strap system, allowing easy access while walking. Align the bottom zipper ventilation panels with the carrier’s leg openings; the double two‑way zippers provide the ability to open partially for older toddlers or close fully for infants.
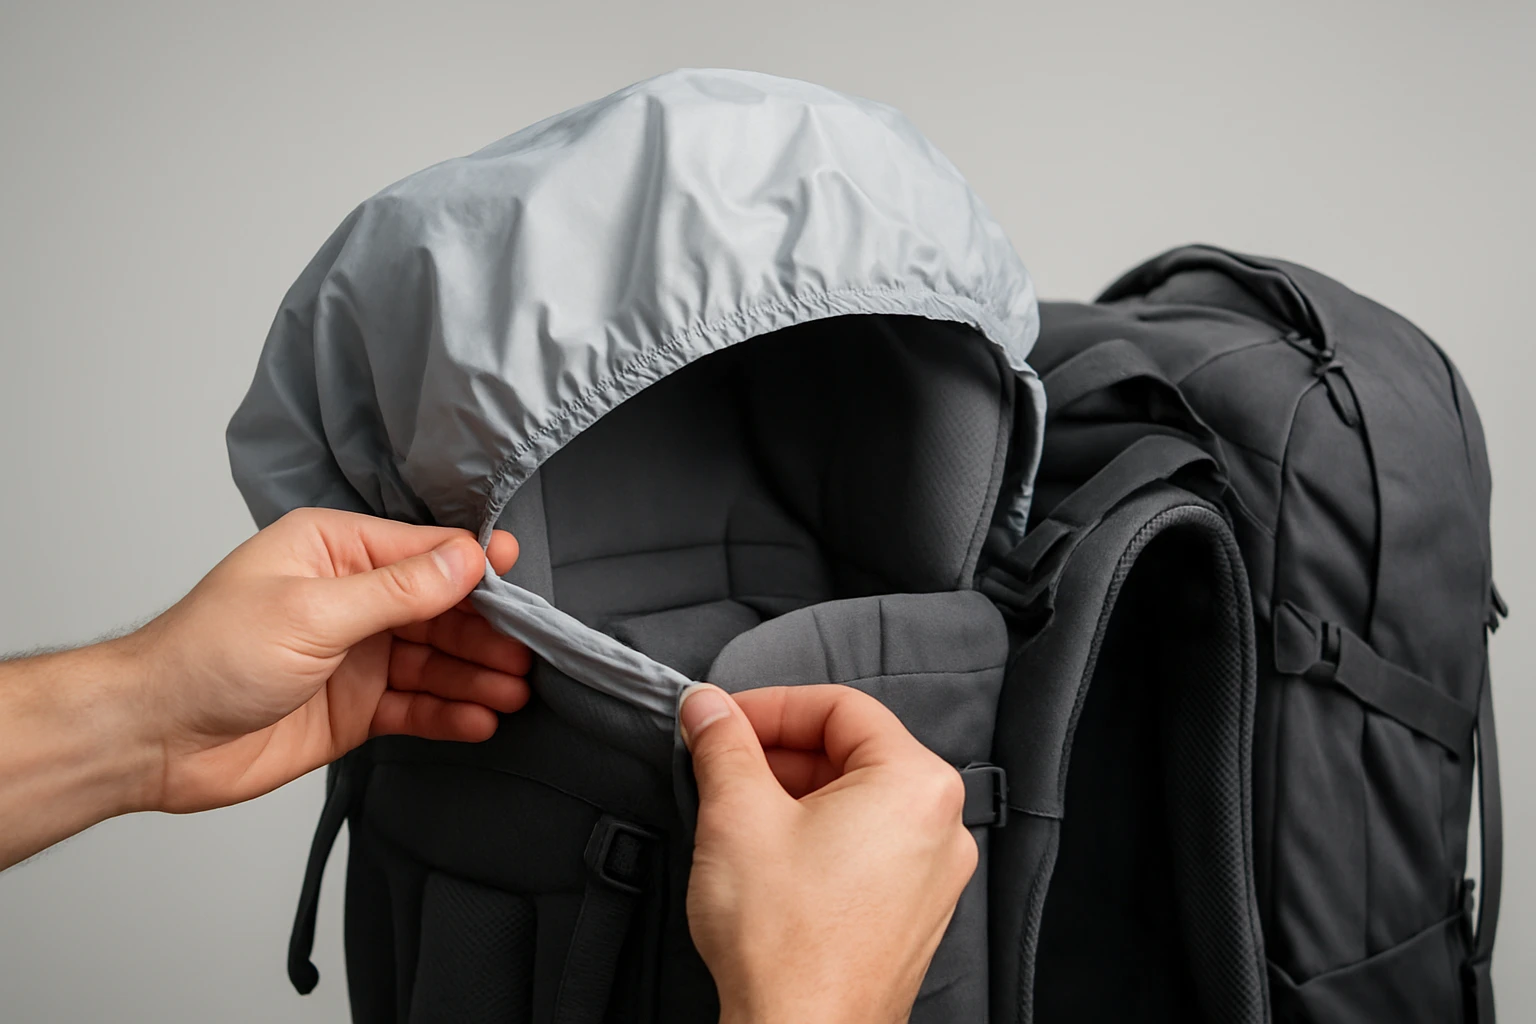
Step 4: Secure the Snaps and Zippers
Most universal covers feature snap‑on fasteners that click into pre‑molded loops on the carrier. Begin at the top of the carrier, pressing each snap firmly until an audible click confirms engagement. Work downward, confirming that each snap is seated evenly to avoid uneven tension that could cause the cover to shift. After all snaps are in place, zip the bottom ventilation panels according to the desired level of warmth; the double two‑way zipper allows independent adjustment of each side. For the Bebamour model, engage the detachable hat by aligning the zipper and buckle, then pull the hat into position over the infant’s head. This final locking step guarantees that the cover remains affixed even during vigorous movement.
Step 5: Attach the Cover to a Hiking Pack (Optional)
If the caregiver intends to carry the infant on a hiking pack, the rain cover can be fastened to the pack’s external loops for added protection during steep climbs. Locate the pack’s side loops or gear straps and thread the cover’s outer snaps through them, mirroring the carrier attachment process. Ensure that the cover’s hood is oriented away from the pack’s frame to prevent snagging on branches or rocks. Verify that the central pocket remains accessible for storing a phone or keys, as the pocket’s fleece‑lined interior provides warmth for the caregiver’s hands. This optional step expands the utility of the rain cover beyond the carrier, allowing seamless transition between walking and hiking environments.
Tips & Pro Tips
- Always test the hood adjustment before heading outdoors; a snug yet comfortable fit prevents cold drafts while avoiding pressure on the infant’s head.
- Use the central hand‑warmer pocket to store a lightweight emergency blanket; this adds an extra layer of safety without increasing bulk.
- When hiking in steep terrain, tighten all carrier straps after the cover is attached to prevent shifting during ascent.
- For prolonged exposure to heavy rain, consider applying a water‑repellent spray to the outer polyester pongee layer to enhance waterproof performance.
- Regularly clean the fleece‑lined pocket according to the manufacturer’s instructions to maintain breathability and prevent odor buildup.
Troubleshooting
Problem: The cover slides down the carrier after a short distance.
Solution: Verify that all snap fasteners are fully engaged; re‑snap any that feel loose and ensure that the bottom zipper is fully closed. If the carrier has elastic strap loops, tighten them to create additional friction.
Problem: The hood interferes with the carrier’s head support.
Solution: Remove the hood and re‑attach it after the carrier is positioned on the caregiver’s body, or select a cover with a drawstring hood that can be tightened without compromising the carrier’s structure.
Problem: Condensation forms inside the cover on warm days.
Solution: Open the bottom ventilation zippers partially to allow airflow, and consider using the Bebamour cover, which is designed for all‑season use and includes breathable polyester shell material.
Conclusion
One now possesses a clear, actionable process for securely attaching a rain cover to a baby carrier and, when needed, to a hiking pack. By selecting a high‑quality cover such as the Orzbow Dino, Orzbow Bear, or Bebamour models, one benefits from weather‑resistant fabrics, adjustable hoods, and convenient pockets that enhance both infant comfort and caregiver convenience. Following the preparation, alignment, and fastening steps reduces the likelihood of water ingress, wind drafts, and equipment slippage, thereby creating a safer outdoor experience for both parent and child. The guide encourages continued exploration of nature while maintaining the highest standards of protection and practicality.
Products Mentioned in This Guide
Frequently Asked Questions
How do I attach a rain cover to an Orzbow baby carrier?
Slide the cover over the carrier, align the straps, and secure the Velcro tabs at the front and back to keep it snug.
Can the rain cover be used on a hiking pack as well?
Yes, most covers have adjustable buckles that hook onto the pack’s loops for a watertight seal.
What tools are needed to install the cover safely?
Only the carrier’s built‑in straps, Velcro, and the cover’s buckles—no extra tools are required.
How do I prevent the cover from flapping in strong wind?
Tighten all Velcro and buckle connections and use the carrier’s built‑in wind‑stop straps if available.
Is the rain cover suitable for both rain and snow?
The waterproof fabric repels rain and provides insulation against light snow, making it versatile for cold weather.