Introduction
One often wonders how to maintain an efficient milk‑expressing routine while keeping a baby close and comfortable. This guide explains the process of pumping hands‑free while babywearing, emphasizing safety, convenience, and optimal milk output. Readers will learn how to prepare the environment, select appropriate equipment, and execute each step with confidence. By following these instructions, one can nurture both infant bonding and personal well‑being without sacrificing productivity.
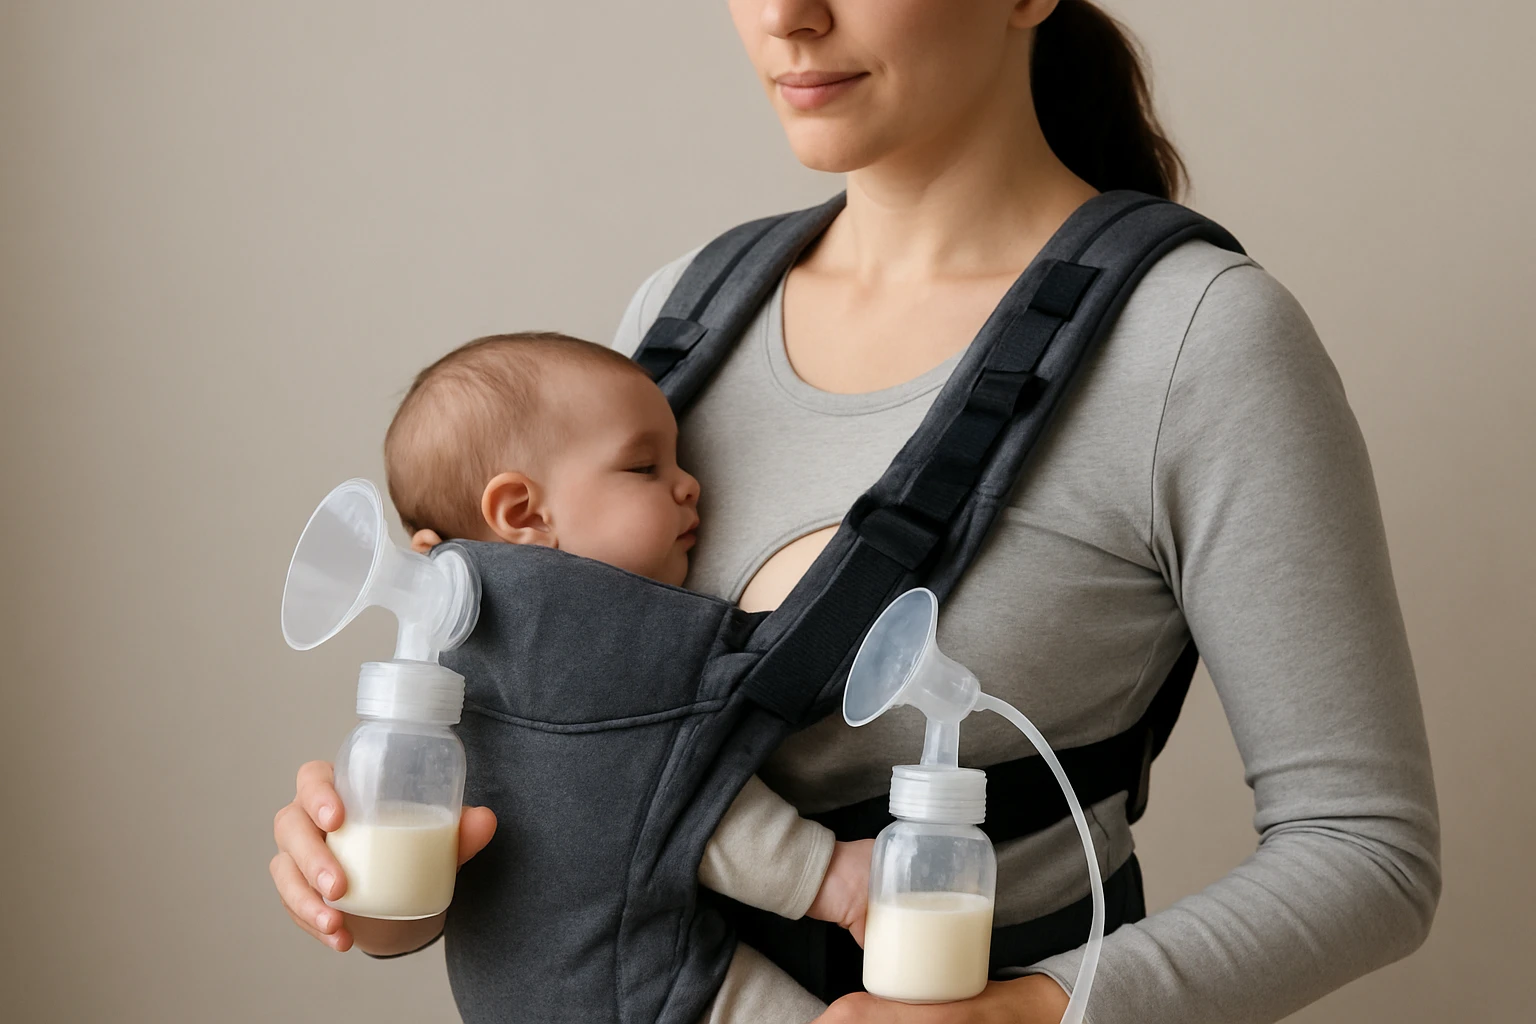
The value of hands‑free pumping lies in its ability to free the caregiver's hands for other tasks, such as soothing, feeding, or completing household duties. Incorporating a reliable pumping bra and a secure carrier reduces the need for constant adjustments, thereby minimizing stress. The following sections provide a comprehensive roadmap, from gathering supplies to troubleshooting common issues. Let us begin by outlining the essential materials.
What You’ll Need
- Electric breast pump (double or single, with adjustable suction settings)
- Simple Wishes Hands‑Free Pumping Bra – comfortable, adjustable, and compatible with most nursing bras
- Soft‑structured baby carrier or wrap that supports upright positioning
- Clean water source for pump parts and a sanitizing solution
- Quiet, well‑ventilated space with a flat surface for the pump
Step 1: Prepare Your Pumping Station
First, select a location that offers privacy, adequate lighting, and a stable surface for the pump. Place a small tray or mat to hold the pump, tubing, and accessories within easy reach. Ensure the power outlet is accessible and that the pump is fully assembled according to the manufacturer's instructions. Finally, test the pump to verify that suction levels respond correctly before beginning the session.
Step 2: Choose the Appropriate Hands‑Free Bra
Second, select a hands‑free pumping bra that fits comfortably and securely. The Simple Wishes Hands‑Free Pumping Bra offers adjustable straps, a customizable fit, and the ability to convert a regular nursing or maternity bra into a pump‑ready garment. Priced at $34.99, it carries a rating of 4.5 out of 5 stars based on 20,399 reviews, indicating broad consumer satisfaction. Its design distributes pressure evenly across the shoulders and back, reducing fatigue during extended pumping sessions.
One should measure the bra size according to the manufacturer's guide, ensuring that the band and cup provide snug yet gentle support. The bra includes removable silicone pads that create a seal around the breast, preventing milk leakage. By using this product, the caregiver can attach pump flanges directly to the pads, eliminating the need to hold the pump manually.
Step 3: Position the Babywearing Carrier
Third, place the infant in a soft‑structured carrier that maintains the baby's airway alignment and supports an upright posture. The carrier should be snug enough to prevent slippage but loose enough to allow natural hip movement. Adjust the carrier straps so that the baby's chest is close to the caregiver's body, facilitating easy access to the pumping bra.
When the baby is securely positioned, the caregiver can focus on the pump without worrying about the infant's stability. This arrangement also promotes skin‑to‑skin contact, which can enhance milk let‑down through hormonal pathways. Verify that the carrier's fabric does not interfere with the bra's straps or the pump tubing.
Step 4: Set Up the Pump and Begin Expressing
Fourth, attach the pump flanges to the silicone pads of the hands‑free bra, ensuring a tight seal to avoid air leaks. Connect the tubing to the pump unit, then select a suction level that mimics the infant's natural nursing rhythm. Initiate the pump, allowing a few minutes for the let‑down reflex to occur.
During the session, the caregiver can attend to other tasks, such as reading, answering emails, or gently rocking the baby within the carrier. It is advisable to monitor the pump for any signs of discomfort, adjusting suction or strap tension as needed. When the desired volume is reached, turn off the pump and carefully detach the flanges.
Step 5: Transition, Clean, and Store Equipment
Fifth, gently remove the baby from the carrier, ensuring that the infant remains calm and supported. Disassemble the pump components and rinse the flanges, tubing, and silicone pads with warm water. Use a sanitizing solution recommended by the pump manufacturer to eliminate bacterial growth.
After cleaning, allow all parts to air dry before reassembling for future use. Store the hands‑free bra in a clean drawer or bag, keeping it separate from other garments to maintain hygiene. Proper maintenance extends the lifespan of both the pump and the bra, ensuring consistent performance.
Tips & Pro Tips
- Schedule pumping sessions at regular intervals to mimic the infant's feeding schedule, which helps maintain supply.
- Wear a breathable, moisture‑wicking layer beneath the hands‑free bra to prevent skin irritation during prolonged use.
- Utilize a quiet pump model if pumping in shared spaces to minimize disturbance.
- Practice positioning the carrier and bra together before the first pumping session to identify any adjustments needed.
- Consider using a portable power bank for the pump when away from a fixed outlet.
Troubleshooting
If the pump produces a weak suction, check for kinks in the tubing or ensure that the flanges are properly sealed against the silicone pads. Should the bra feel excessively tight, loosen the shoulder straps incrementally to relieve pressure while maintaining a secure fit. In cases of nipple discomfort, reduce the suction level or pause the session to allow tissue recovery.
Persistent leakage may indicate that the breast shield size is mismatched; consult the pump's sizing guide to select the correct flange diameter. If the baby appears unsettled while in the carrier, verify that the carrier's weight distribution is even and that the infant's head is supported.
Conclusion
By following the steps outlined above, one can efficiently pump hands‑free while babywearing, thereby preserving valuable time and fostering a nurturing environment. The combination of a reliable hands‑free bra, a well‑adjusted carrier, and a properly set up pump creates a seamless workflow for busy caregivers. Implementing the provided tips and troubleshooting strategies will further enhance comfort and milk output. One is encouraged to experiment with the recommended gear and adapt the routine to personal preferences for optimal results.
Products Mentioned in This Guide
Frequently Asked Questions
How can I safely pump hands‑free while babywearing?
Place the baby in a secure carrier, attach a hands‑free pumping bra, and ensure the pump tubing stays clear of the carrier straps to prevent pressure on the nipples.
What type of pumping bra is best for hands‑free pumping?
A supportive, adjustable hands‑free pumping bra like the Simple Wishes model holds flanges in place and allows easy positioning while you move.
Do I need a double or single electric breast pump for hands‑free use?
A double electric pump is ideal because it saves time and maintains milk supply, but a single pump works if you prefer a lighter setup.
How do I set up my baby carrier to avoid nipple compression?
Choose a carrier that supports the baby without tight chest pressure, and position the pump flanges away from the carrier’s straps or seams.
What are common troubleshooting tips for low milk output when pumping hands‑free?
Check suction settings, ensure a proper flange fit, stay relaxed, and try a short hands‑on session before switching to hands‑free to stimulate let‑down.