How to Travel with a Carry‑On and Gate‑Check Your Baby Carrier: A Stress‑Free Strategy
Introduction
Traveling with an infant can feel overwhelming, especially when airline restrictions limit the amount of gear that can be brought aboard. This guide explains how to efficiently pack, carry, and gate‑check a baby carrier while protecting a car seat, allowing parents to focus on the journey rather than logistics. By the end of the article, readers will understand the optimal sequence of steps, the essential tools, and the best practices for a smooth travel experience.
It is designed for families who travel frequently, whether for short weekend trips or extended vacations, and who value both convenience and safety. The recommendations are based on real‑world product data, ensuring that each suggestion is backed by price, rating, and feature information.
The strategy presented here eliminates last‑minute scrambling at the gate, reduces the risk of damage to valuable equipment, and keeps the baby comfortable throughout the flight.
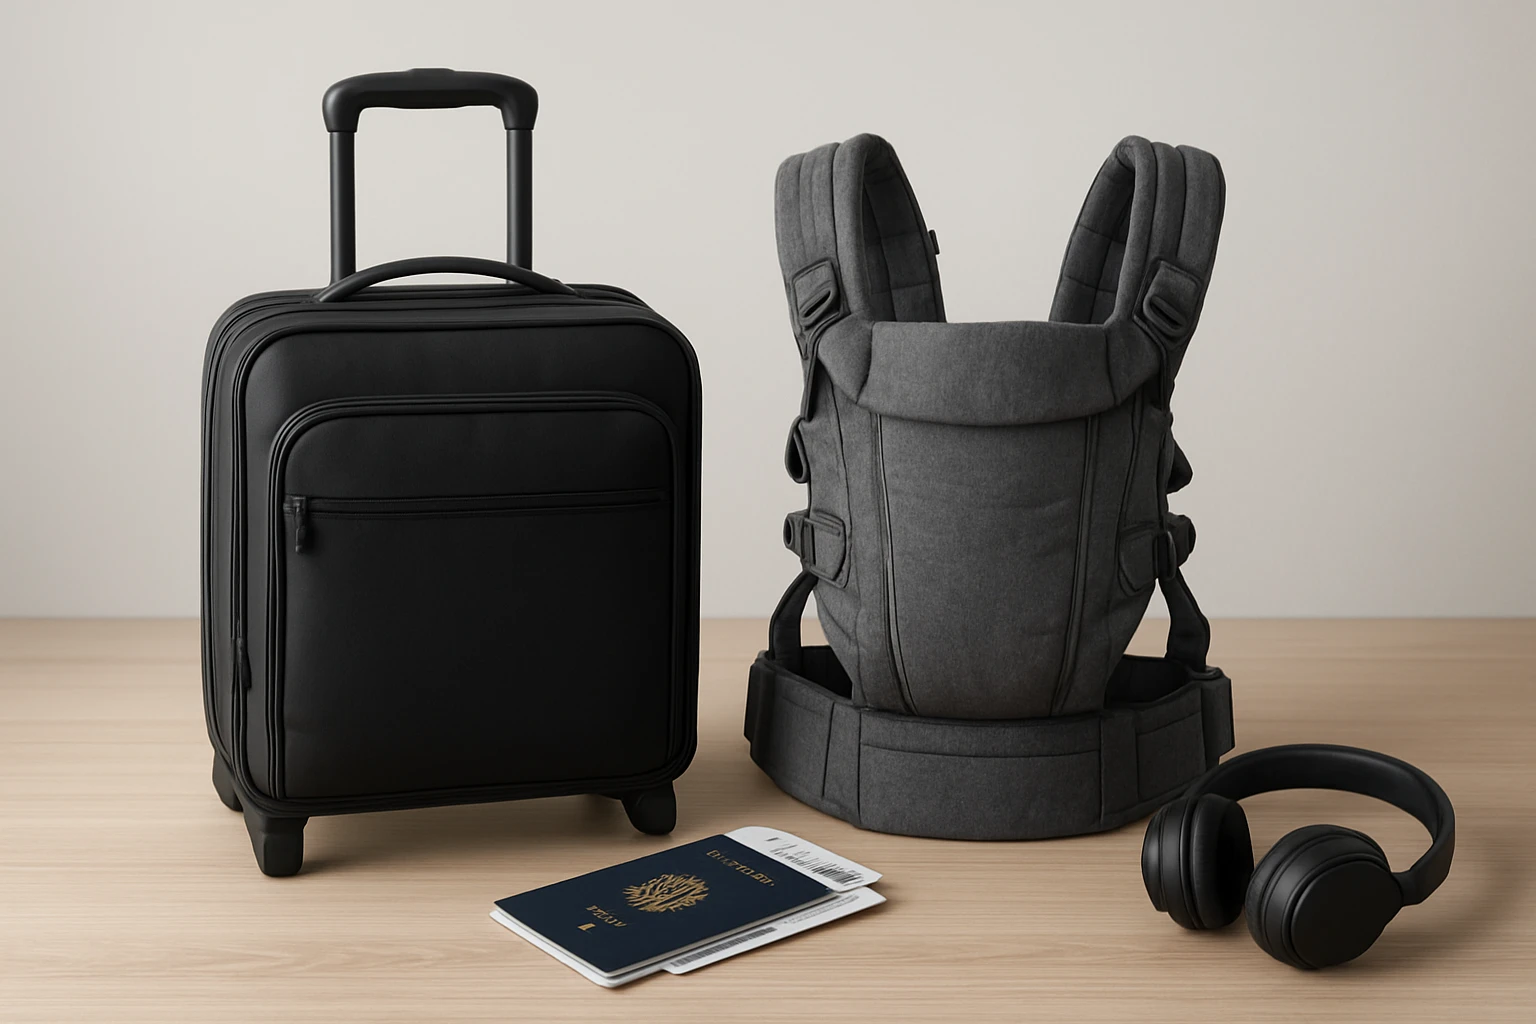
What You’ll Need
- Beco Fly Baby Carrier – lightweight, foldable carrier (price: $49.99, rating: 4.5/5 from 34 reviews).
- J.L. Childress Car Seat Travel Bag – durable gate‑check bag (price: $16.62, rating: 4.4/5 from 14,583 reviews).
- Standard carry‑on suitcase or backpack.
- Travel‑size ziplock bags for accessories.
Step‑by‑Step Instructions
Step 1: Select a Travel‑Friendly Baby Carrier
The first decision influences every subsequent step. A carrier that is both lightweight and compact reduces the burden on the traveler and fits easily into a carry‑on. The Beco Fly Baby Carrier weighs only 0.8 lb, folds into its own carry bag, and offers two carrying modes (inward‑facing chest and backpack). Its breathable ripstop fabric and built‑in hood protect the infant from sun and wind, while the hip‑healthy “M” position supports proper development from 15–45 lb.
Choosing this carrier over bulkier alternatives ensures that the item can be placed in the overhead bin without exceeding airline weight limits. The adjustable straps and padded waistband accommodate parents of varying sizes, eliminating the need for additional support accessories.
When evaluating other carriers, compare weight, foldability, and the presence of a dedicated carry bag. The Beco Fly’s combination of these features makes it uniquely suited for gate‑checking scenarios.
Step 2: Pack the Carrier Efficiently in Your Carry‑On
Before arriving at the airport, fold the Beco Fly according to the manufacturer’s instructions and place it inside its included zippered carry bag. Position the bag at the top of the carry‑on so that it can be accessed quickly during security screening.
Arrange additional items—such as diapers, wipes, and a lightweight blanket—around the carrier. Use ziplock bags to keep small items from shifting, which helps maintain balance and prevents the carrier from being crushed.
If the carry‑on has a dedicated laptop compartment, consider storing the carrier there, as the compartment often provides a rigid structure that protects the carrier from compression.
Step 3: Gate‑Check the Baby Carrier
When you reach the gate, inform the airline staff that you intend to gate‑check the carrier. Most carriers are allowed as a personal item in addition to the standard carry‑on, but confirming with the gate agent avoids surprise fees.
Hand the carrier, still inside its protective bag, to the gate staff. The Beco Fly’s compact size (approximately 12 × 10 × 4 in) ensures that it will fit easily onto the cart used for gate‑checked items. The carrier’s durable ripstop material protects it from the rough handling that sometimes occurs during loading.
Once the flight lands, retrieve the carrier from the baggage claim carousel or the designated gate‑check area. The carrier will be ready for immediate use, with no need for re‑assembly.
Step 4: Protect Your Car Seat with a Travel Bag
While the baby carrier is gate‑checked, many families also need to transport a car seat for use at the destination. The J.L. Childress Car Seat Travel Bag is engineered to shield car seats from dirt, scuffs, and moisture during airline handling.
This bag features a silicone AirTag holder, allowing parents to track the bag’s location—a valuable feature when traveling through busy airports. The lockable draw‑string closure and reinforced seams provide security and durability, while the bright neon yellow color and large GATE CHECK logo make the bag instantly recognizable.
To use the bag, slide the car seat into the interior, secure the draw‑string, and attach the ID box with your name and contact information. The attached stretch pouch enables quick folding and unfolding, which is useful when space is limited in the cabin or at the gate.
Step 5: Reassemble and Use the Carrier at Your Destination
After retrieving the carrier, remove it from the protective bag and unfold it according to the included diagram. Verify that all buckles are securely fastened and that the straps are adjusted to your height.
Test the hip‑healthy “M” position by placing the infant against your chest and ensuring that the thighs form a gentle “M” shape. The integrated hood can be stored in its zippered pocket until needed for sun protection.
Because the carrier is ultralight, parents can comfortably wear it while navigating airport terminals, boarding the plane, or strolling through the arrival hall. The carrier’s breathable mesh panels keep both parent and child cool, which is especially important during summer travel.
Tips & Pro Tips
- Pre‑flight check: Verify airline policies regarding gate‑checked items on the carrier’s website to avoid unexpected fees.
- Label everything: Use the ID box on the travel bag and a luggage tag on the carrier’s carry bag to ensure quick identification.
- Carry a small repair kit: Include a spare buckle and a mini sewing kit in a ziplock bag for minor adjustments.
- Use the AirTag holder: Even if you do not own an AirTag, consider borrowing one from a friend to track the car seat bag.
- Plan for security: Place the carrier at the top of the carry‑on so that it can be easily removed for X‑ray screening without unpacking the entire bag.
Troubleshooting
Problem: The carrier does not fit in the overhead bin.
Solution: Remove the carrier from its protective bag, fold it tighter, and place it in the seat pocket or under the seat in front of you. Most airlines allow a personal item in addition to the carry‑on.
Problem: The car seat travel bag is damaged during handling.
Solution: Document the damage with photos immediately and file a claim with the airline’s baggage department. The reinforced seams of the J.L. Childress bag reduce the likelihood of severe damage.
Conclusion
Traveling with a baby does not have to be stressful when the right tools and procedures are employed. By selecting a lightweight, foldable carrier, packing it strategically, gate‑checking it, and protecting the car seat with a dedicated travel bag, parents can maintain comfort, safety, and efficiency throughout the journey. The steps outlined in this guide empower families to travel confidently, knowing that both infant and equipment are well‑cared for.
Implement the strategy on the next trip, and experience the difference that thoughtful preparation makes. Safe travels!
Products Mentioned in This Guide


Frequently Asked Questions
How can I gate‑check my baby carrier without damaging it?
Use a padded travel bag or cover, label it clearly, and hand it to the gate agent before boarding; the carrier will be placed in the cargo hold and returned at the gate.
What is the best way to pack a car seat in a carry‑on?
Place the car seat in a dedicated travel case or sturdy backpack, secure the straps tightly, and cover it with a blanket to prevent scratches.
Are there airline size limits for baby gear when traveling with a carry‑on?
Most airlines permit a stroller or carrier as a free‑of‑charge item in addition to your personal carry‑on, but dimensions differ, so verify the carrier’s policy before you fly.
What essential tools should I bring to protect my baby carrier and car seat during travel?
Pack a travel‑size bag, a seat‑protecting blanket, zip ties or Velcro straps, and a luggage tag with your contact info.
How can I streamline the check‑in process for infant equipment at the gate?
Arrive early, have the carrier and car seat ready at the gate, and inform staff you’re gate‑checking infant gear so they can tag and handle it promptly.